


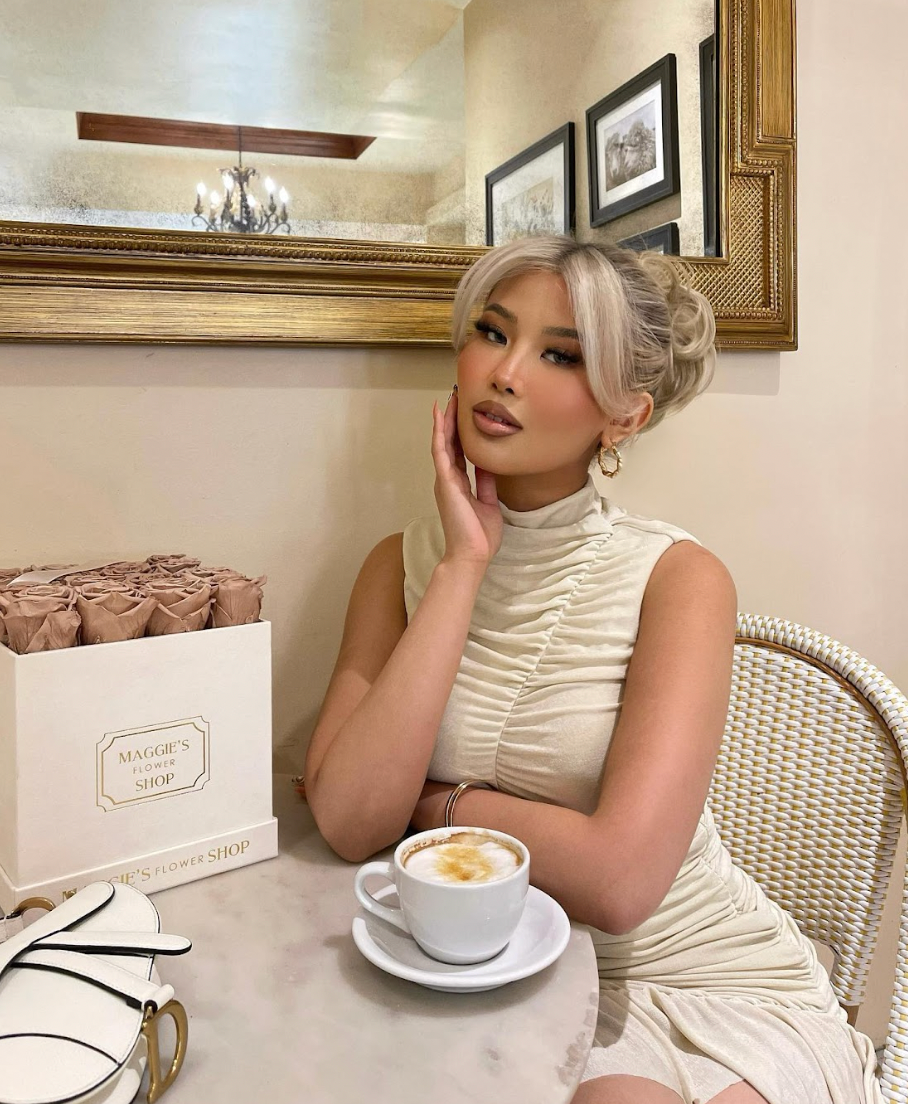
Here at LullaBellz, we love creating glam and Celeb-inspired hairstyles which are not only time efficient, but still make a high impact. One of our fave hair heroes - Kim K - is famously known for sporting effortless locks (kudos to her glam squad!) but still manages to give it the A-Lister finish.
Our quickest up do style to re-create is the Messy Bun Scrunchie, which can elevate any average outfit. So, whether you're a busy Mum on the morning School run or simply running weekend errands - our Messy Bun Scrunchie should always be your go-to in achieving instant hair goals without the fuss or heat damage.
The not-so-basic hairstyle is super easy and quick to achieve, but will provide your tresses with XL texture, volume and body. The ideal style for those with shorter or finer hair types, to raise their hair to brand new voluminous textures.
What you'll need:
Messy Bun Scrunchie, £15
Backcombing Brush, £5
Slick & Fix Styling Glue, £8

HOW TO
1. Firstly, ensure that hair is clean, dry and product-free. (Although if you're wearing the Messy Bun Scrunchie as a slick back look with no face framing pieces, second or third day hair is completely fine!)
2. Using our Backcombing Brush, slick your hair back into a tight ponytail or bun and secure in place with a bobble. If your hair is on the thicker or longer side, we recommend tying it back into a ponytail first, and then going in with a few kirby grips to style it into a tight bun to secure. Psst.. this brush has been designed with tightly packed bristles to grasp each individual strand of hair - which makes it the perfect styling tool and handbag hero for updo's, ponytails and sleek buns!
3. Taking our Slick & Fix Styling Glue, apply a minimal amount of the product along the surface of your Backcombing Brush and slick the styling glue through your newly styled bun to smooth over the surface and rid of any unsightly bumps or imperfections.
4. With your Messy Bun Scrunchie, stretch the bobble over your hand and wrap the hairpiece around your bun hairstyle. Twice is usually enough for a secure finish, however if your hair is on the finer side, wrapping it around three times should be ideal!
5. If necessary, secure the Messy Bun Scrunchie hairpiece firmly in place with a few kirby grips by taking individual sections of hair and pinning them back towards your crown.
6. Voila! Enjoy your newly styled hair with a Kim K approved finish!
Still not sure on application? Check out our Influencer Saffie below who shows you exactly how to style the Messy Bun Scrunchie!

Psst.. want a discount whilst upgrading your hair? Use code BLOG10 at checkout for 10% OFF* synthetic hair extensions & wigs!
(* = Applies to full-priced Synthetic Hair and Wigs only. Excludes new launch products)
1 comment
This messy bun scrunchie seems to be so effortless. As it is mentioned, this can be bagged up with any kind of outfit, it best suited with party dresses when perfectly done. You can also add a hair net to secure it.